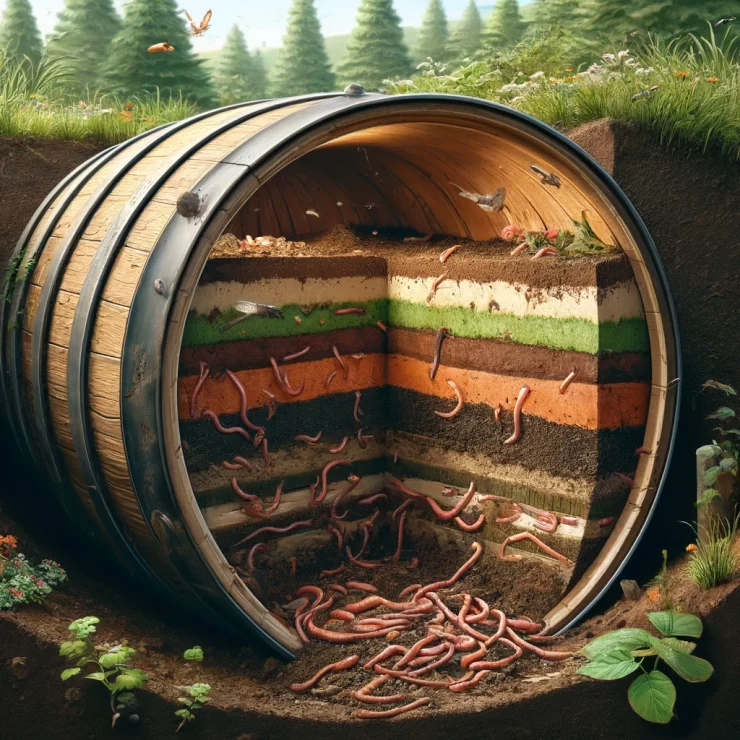
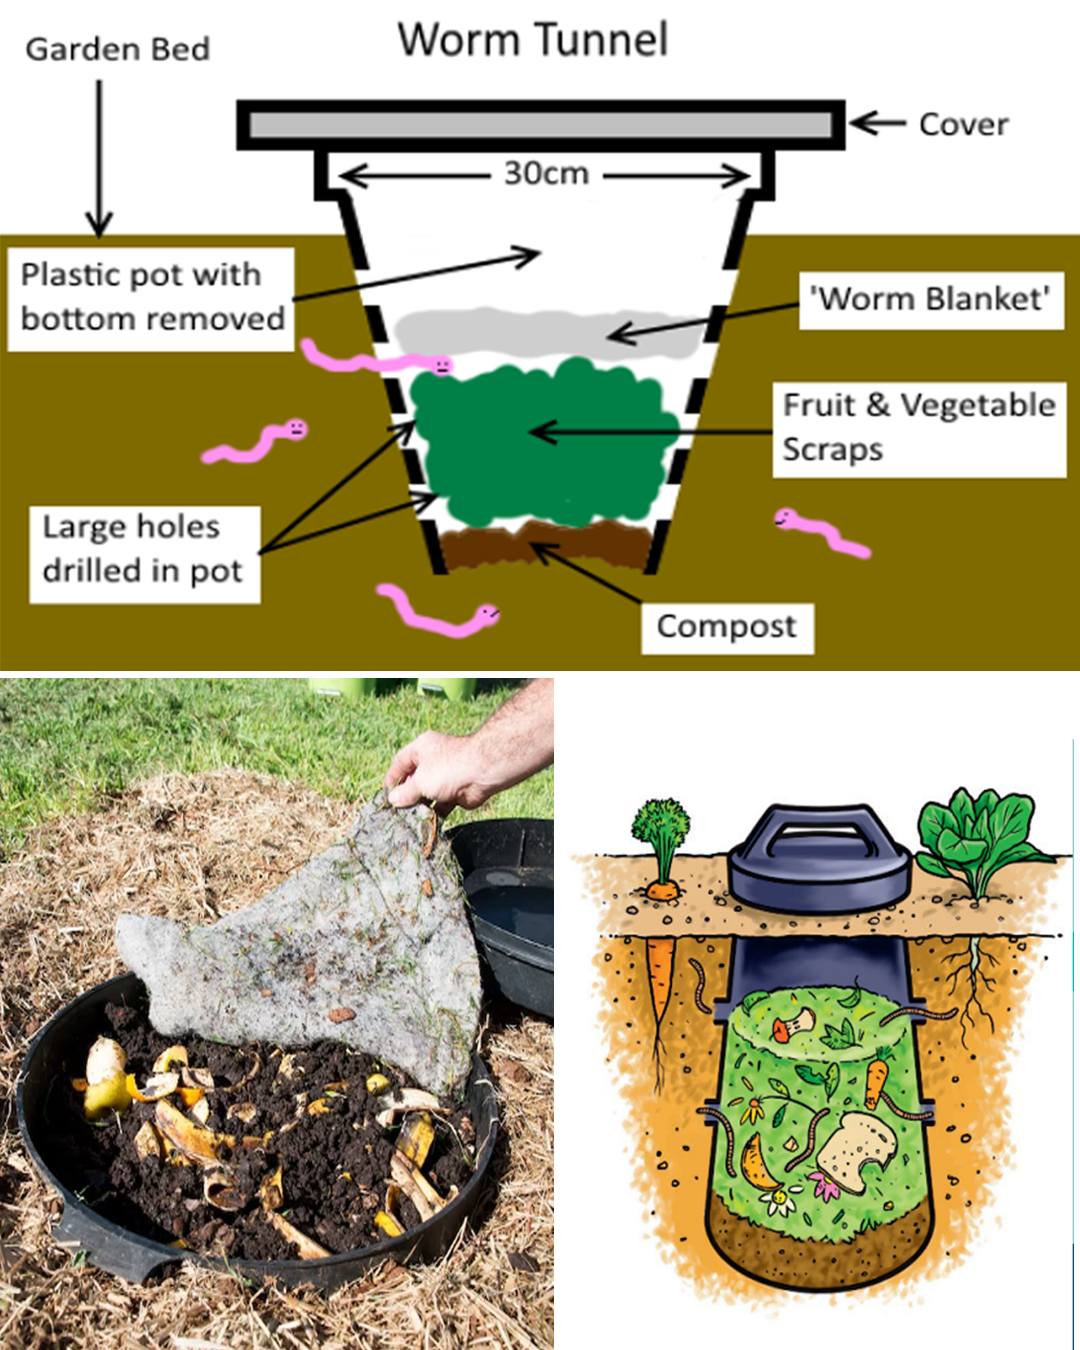
Subterranean farming isn’t just for root vegetables anymore. In colder climates, where winters can be harsh and growing seasons short, creating an underground worm farm presents a sustainable solution for enriching soil and reducing waste. Harnessing the power of these humble creatures can transform your garden into a thriving ecosystem while minimizing your environmental footprint. Let’s delve into how to construct your own underground worm farm tailored to withstand chilly temperatures.

Why Worm Farming?
Worms are nature’s original recyclers, breaking down organic matter into nutrient-rich compost through their digestive processes. This natural fertilizer, known as vermicompost, is a potent soil conditioner, enhancing soil structure, moisture retention, and nutrient levels. In cold climates, where traditional composting methods might freeze or slow down during winter, an underground worm farm offers a year-round solution.
Choosing the Right Worms
Not all worms are created equal when it comes to vermicomposting. Eisenia fetida, commonly known as red wigglers, are the go-to species for their voracious appetite, rapid reproduction, and ability to thrive in confined spaces. They can withstand cooler temperatures better than some other species, making them ideal for cold climate worm farming.
Location and Design
Selecting the right location is crucial for the success of your underground worm farm. Choose a spot with stable temperatures year-round, such as a basement or root cellar. The chosen location should also provide protection from extreme cold and fluctuations in temperature.
When it comes to design, simplicity is key. A basic underground worm farm can be constructed using readily available materials such as plastic bins or wooden crates. Ensure adequate ventilation to prevent anaerobic conditions and unpleasant odors. Additionally, consider insulating the container to regulate temperatures and protect the worms during colder months.
Creating the Habitat
Building a comfortable habitat for your worms is essential for their well-being and productivity. Start by layering bedding materials such as shredded newspaper, cardboard, or leaves at the bottom of the container. This provides a cozy environment for the worms and helps absorb excess moisture.
Add kitchen scraps, vegetable peels, coffee grounds, and other organic waste on top of the bedding to feed the worms. Avoid adding meat, dairy, and oily foods, as they can attract pests and create unpleasant odors. Cover the food scraps with another layer of bedding to prevent fruit flies and maintain moisture levels.
Maintenance and Harvesting
Maintaining an underground worm farm is relatively low-maintenance but requires regular attention. Check the moisture levels periodically and add water if the bedding feels dry. Monitor the temperature to ensure it stays within the optimal range for worm activity.
Harvesting vermicompost is a simple process that involves separating the worms from the compost. One method is to push all the compost to one side of the container and add fresh bedding and food to the other side. The worms will migrate to the new bedding, allowing you to scoop out the finished compost from the other side.

Benefits for Garden and Environment
Integrating an underground worm farm into your gardening routine offers numerous benefits for both your garden and the environment. Vermicompost enriches the soil with essential nutrients, improves soil structure, and promotes healthy plant growth. By diverting organic waste from landfills and reducing the need for chemical fertilizers, worm farming also helps mitigate greenhouse gas emissions and combat climate change.
Building an underground worm farm tailored to cold climates is a rewarding endeavor that benefits both gardeners and the environment. By harnessing the power of worms to convert organic waste into nutrient-rich compost, you can enhance soil fertility, reduce waste, and cultivate a sustainable garden ecosystem regardless of the weather outside. Get digging and let your underground worm farm thrive!
News
JJ Redick reacts to Luka Doncic trade for Anthony Davis
In one of the most jaw-dropping moves of the season, the NBA landscape was rocked by the blockbuster trade involving Luka Dončić and Anthony Davis—a swap that has sent ripples of excitement, disbelief, and heated discussion through the league. Among…
Anthony Davis FULL reaction to trade to Mavericks for Luka Doncic
In a blockbuster move that sent shockwaves through the NBA and left fans reeling, Anthony Davis has been traded to the Dallas Mavericks in exchange for Luka Dončić. In the immediate aftermath of the news, Davis took to the media…
Shaq reacts to Dallas Mavericks wanting Kevin Durant after Luka-AD trade 👀
In the constantly shifting world of the NBA, trade rumors and blockbuster moves are a regular part of the season’s drama. The latest twist has fans buzzing: the Dallas Mavericks have reportedly set their sights on acquiring Kevin Durant in…
Donovan Mitchell FILTHY poster dunk on Kristaps Porzingis 😳
In a game filled with high-intensity moments and jaw-dropping highlights, one play in particular has left fans and analysts buzzing about Donovan Mitchell’s latest display of athleticism. Early in the contest, with the atmosphere already charged by an evenly matched…
Joel Embiid hits go-ahead bucket vs Mavs then chats with Anthony Davis after game
In one of the most thrilling contests of the season, Joel Embiid delivered a clutch performance against the Dallas Mavericks, punctuating the game with a go-ahead bucket that sent the home crowd into a frenzy. The atmosphere in the arena…
D’Angelo Russell game winner as Nets hit two 3’s in 3 seconds to win vs Rockets 😱
In one of the most electrifying moments in recent NBA history, D’Angelo Russell delivered an unforgettable game-winner that left fans and commentators in complete awe. With the Brooklyn Nets locked in a tense battle against the Houston Rockets, the outcome…
End of content
No more pages to load


