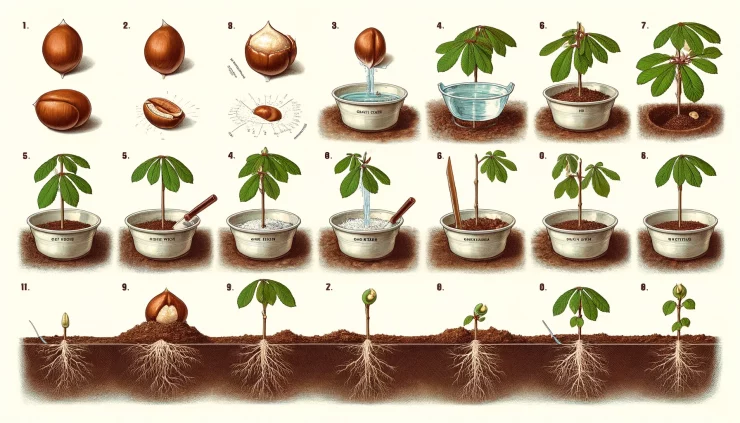
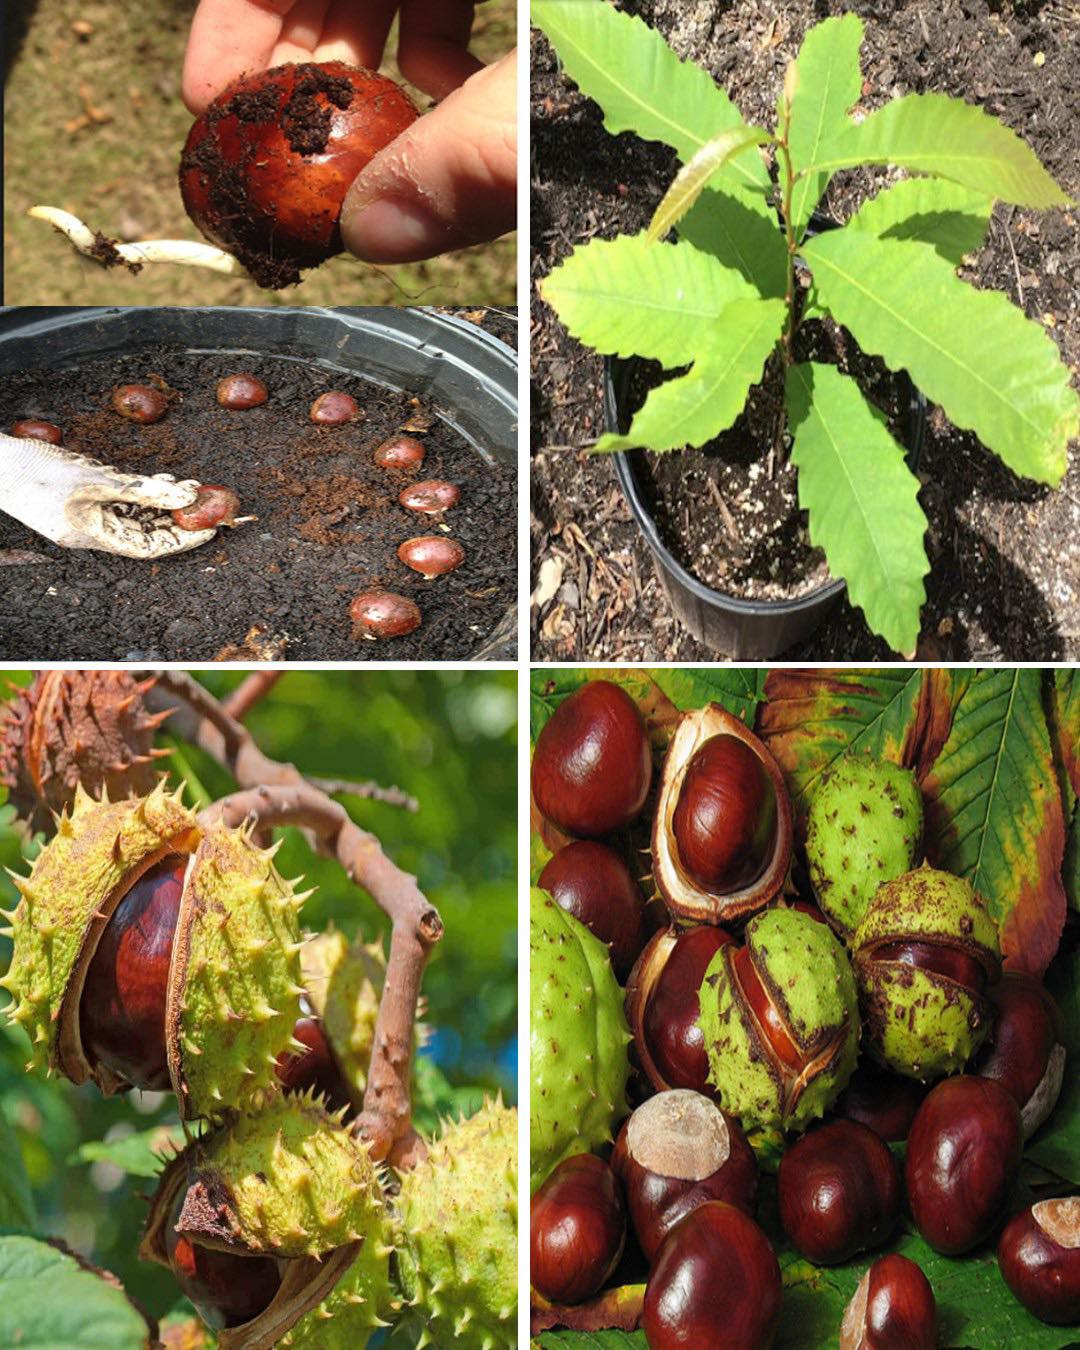
Chestnut trees (Castanea spp.) are majestic, long-lived trees prized for their delicious nuts, ornamental value, and ecological benefits. Propagating chestnut trees from seed is a rewarding endeavor that allows enthusiasts to preserve unique varieties and expand their orchards. While the process may seem daunting to some, with the right knowledge and patience, anyone can successfully propagate chestnut trees from seed. In this guide, we will delve into the step-by-step process of propagating chestnut trees, from selecting the seeds to caring for the seedlings.

Seed Selection:
Choose mature, healthy chestnuts from a reputable source. Fresh seeds have a higher chance of germination.
Look for chestnuts with smooth, glossy shells and avoid those with signs of damage or mold.
Consider the variety of chestnut tree you wish to propagate, as different species and cultivars may have specific requirements.
Seed Preparation:
Perform a float test to separate viable seeds from non-viable ones. Place the chestnuts in a bowl of water; discard any that float as they are likely not viable.
Scarify the selected seeds to break through the hard seed coat, aiding in germination. This can be done by gently nicking the shell with a knife or rubbing them with sandpaper. Be careful not to damage the seed inside.
Soak the scarified seeds in water for 24 to 48 hours to soften the seed coat and promote germination.
Planting:
Choose a well-draining planting site with full sun exposure. Chestnut trees thrive in fertile, loamy soil.
Dig a hole approximately twice the diameter of the seed and plant it vertically with the pointed end facing downwards.
Cover the seed with soil, ensuring it is planted at a depth of 2 to 3 inches.
Space multiple seeds at least 20 feet apart to allow for proper growth and development.
Care and Maintenance:
Keep the soil consistently moist but not waterlogged during the germination period, which typically lasts 4 to 6 weeks.
Mulch around the seedlings to retain moisture, suppress weeds, and regulate soil temperature.
Protect young chestnut trees from pests such as rodents and deer by installing barriers or using repellents.
Transplanting:
Transplant the chestnut seedlings to their permanent location once they have developed several sets of true leaves and are sturdy enough to handle transplant shock.
Choose a site with plenty of space for the tree to mature, considering its eventual height and spread.
Dig a hole slightly larger than the root ball and gently place the seedling in the center, ensuring the roots are spread out and not cramped.
Backfill the hole with soil, firming it gently around the roots, and water thoroughly to settle the soil.

Continued Care:
Monitor the newly transplanted chestnut trees closely for signs of stress, and water regularly during the first growing season to establish a strong root system.
Mulch around the base of the tree to conserve moisture, regulate soil temperature, and suppress weed growth.
Prune the chestnut tree as necessary to remove dead or diseased branches and shape its growth trajectory.
Fertilize the tree annually with a balanced fertilizer to promote healthy foliage and nut production.
Propagating chestnut trees from seed is a gratifying process that allows individuals to connect with nature and contribute to the conservation of these remarkable trees. By following the steps outlined in this guide and exercising patience and care, you can successfully propagate chestnut trees and enjoy their beauty and bounty for years to come. So, roll up your sleeves, gather some chestnut seeds, and embark on your journey to grow these magnificent trees from scratch
News
JJ Redick reacts to Luka Doncic trade for Anthony Davis
In one of the most jaw-dropping moves of the season, the NBA landscape was rocked by the blockbuster trade involving Luka Dončić and Anthony Davis—a swap that has sent ripples of excitement, disbelief, and heated discussion through the league. Among…
Anthony Davis FULL reaction to trade to Mavericks for Luka Doncic
In a blockbuster move that sent shockwaves through the NBA and left fans reeling, Anthony Davis has been traded to the Dallas Mavericks in exchange for Luka Dončić. In the immediate aftermath of the news, Davis took to the media…
Shaq reacts to Dallas Mavericks wanting Kevin Durant after Luka-AD trade 👀
In the constantly shifting world of the NBA, trade rumors and blockbuster moves are a regular part of the season’s drama. The latest twist has fans buzzing: the Dallas Mavericks have reportedly set their sights on acquiring Kevin Durant in…
Donovan Mitchell FILTHY poster dunk on Kristaps Porzingis 😳
In a game filled with high-intensity moments and jaw-dropping highlights, one play in particular has left fans and analysts buzzing about Donovan Mitchell’s latest display of athleticism. Early in the contest, with the atmosphere already charged by an evenly matched…
Joel Embiid hits go-ahead bucket vs Mavs then chats with Anthony Davis after game
In one of the most thrilling contests of the season, Joel Embiid delivered a clutch performance against the Dallas Mavericks, punctuating the game with a go-ahead bucket that sent the home crowd into a frenzy. The atmosphere in the arena…
D’Angelo Russell game winner as Nets hit two 3’s in 3 seconds to win vs Rockets 😱
In one of the most electrifying moments in recent NBA history, D’Angelo Russell delivered an unforgettable game-winner that left fans and commentators in complete awe. With the Brooklyn Nets locked in a tense battle against the Houston Rockets, the outcome…
End of content
No more pages to load


